Why You'll Love It
- - Only five ingredients, all everyday staples
- - Minimal prep, no mixing bowl required
- - Moist, chocolate‑rich texture that pleases every palate
- - Perfect for spontaneous gatherings or quiet nights
"The Oreo Dump Cake was the easiest dessert I’ve ever made – it turned out perfectly moist and chocolatey!"
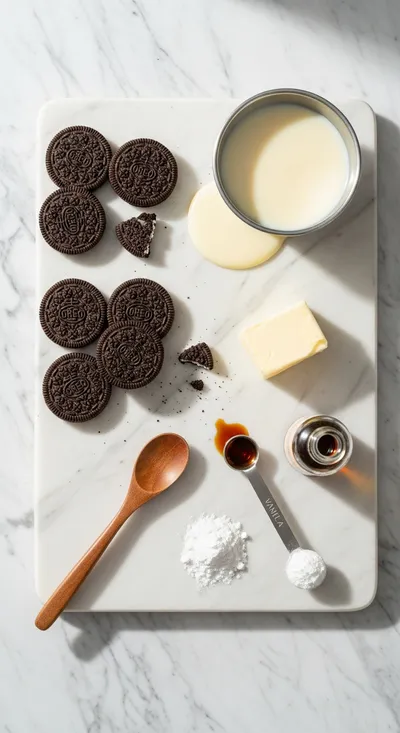
Essential Ingredient Guide
- Oreo cookies: Use the classic chocolate‑cream variety; crush them coarsely for texture.
- Unsalted butter: Melted butter binds the crumbs into a buttery crust.
- Instant vanilla pudding mix: Provides creamy sweetness without extra cooking.
- Milk: Combines with pudding mix; whole milk gives richer flavor.
- Whipped topping: Adds a light, airy finish; opt for a dairy‑free version if needed.
- Optional chocolate chips: Sprinkle on top for extra melt‑in pockets of chocolate.
Complete Cooking Process
-
Ingredient Readiness:
Gather Oreos, melt butter, and have pudding mix and milk measured. No pre‑mixing required – just have everything within arm's reach.
-
Flavor Development:
When the butter and cookies combine in the pan, they release a toasted, buttery aroma that deepens as the cake bakes.
-
Texture Control:
The pudding mixture sets into a silky layer while the bottom stays tender, creating a contrast between crust and filling.
-
Finishing Touches:
Spread whipped topping just before serving and, if desired, dust with extra crushed cookies.
-
Serving Timing:
Serve warm or at room temperature; the cake holds its shape for up to two hours.
- Use melted butter that’s not too hot – it helps crumbs cling without soggy spots.
- Let the cake rest 5 minutes after baking; the pudding layer firms up nicely.
- If you like extra gooeyness, add a handful of chocolate chips before baking.
Pro Tips
These simple adjustments can turn a modest dessert into a crowd‑pleaser. I’ve found that a brief rest lets the flavors meld, and the contrast between warm crust and cool topping is simply comforting. So, take a moment, breathe in that sweet scent, and enjoy the simple pleasure of a homemade treat.
The essence of the dish:
A fun fact or historical angle:
Flavor or sensory focus:
You Must Know
- Do not over‑bake; the cake should stay soft inside
- Serve soon for best texture
- Cool on a rack before slicing
Frequently Asked Questions
→ Can I use gluten‑free cookies?
Yes, substitute gluten‑free chocolate sandwich cookies; the texture will remain similar.
→ How long does it keep?
Stored in the refrigerator, it stays fresh for up to 3 days; reheat gently if desired.
→ Can I add fresh fruit?
Absolutely – sliced strawberries or bananas add a bright contrast to the richness.
→ Is this recipe suitable for vegans?
Swap butter for a plant‑based alternative and use coconut‑based whipped topping; the flavor stays delightful.
→ What size pan should I use?
A 9‑inch square baking dish works well; a deeper dish yields a taller cake.
→ Do I need to pre‑heat the oven?
Yes, pre‑heat to 350°F (175°C) to ensure even baking.
Chef's Tips
Do not over‑mix the pudding; a gentle stir prevents lumps.,If you prefer a firmer crust, press the buttered crumbs firmly before adding the pudding.,For extra indulgence, drizzle a thin stream of chocolate sauce just before serving.
Nutrition Facts
per serving
420
Calories
5g
Protein
55g
Carbs
20g
Fat
Taste Profile
Richly chocolatey with a creamy vanilla finish
Ingredient Substitutions
Don't have an ingredient? Try these alternatives
May slightly change flavor but keeps the crust buttery.
Provides a dairy‑free alternative with a hint of coconut.
Recipe Variations
Try these delicious twists on the original
Spicy Version
Add a pinch of cayenne pepper to the pudding mix for a subtle heat.
Mediterranean Style
Swap vanilla pudding for a honey‑yogurt mix and sprinkle toasted almonds on top.
Common Mistakes to Avoid
Learn from others' mistakes for perfect results
- Over‑mixing the pudding, which can create a grainy texture.
- Baking too long; the crust can become dry.
- Skipping the butter coating – leads to a crumbly, dry base.
Meal Prep & Storage
Make Ahead Tips
You can crush the Oreos and store them in an airtight container; assemble the cake up to step 3 and refrigerate, then bake when ready.
Leftover Ideas
Reheat gently in a skillet over low heat, covering to keep the topping soft.
Perfect Pairings
Serve this with...
Cooking Timeline
Preheat oven, crush Oreos, melt butter.
Combine crumbs with butter, spread in pan.
Whisk pudding mix with milk, pour over crust.
Bake until set, then add whipped topping.
Cool briefly, slice, and serve.
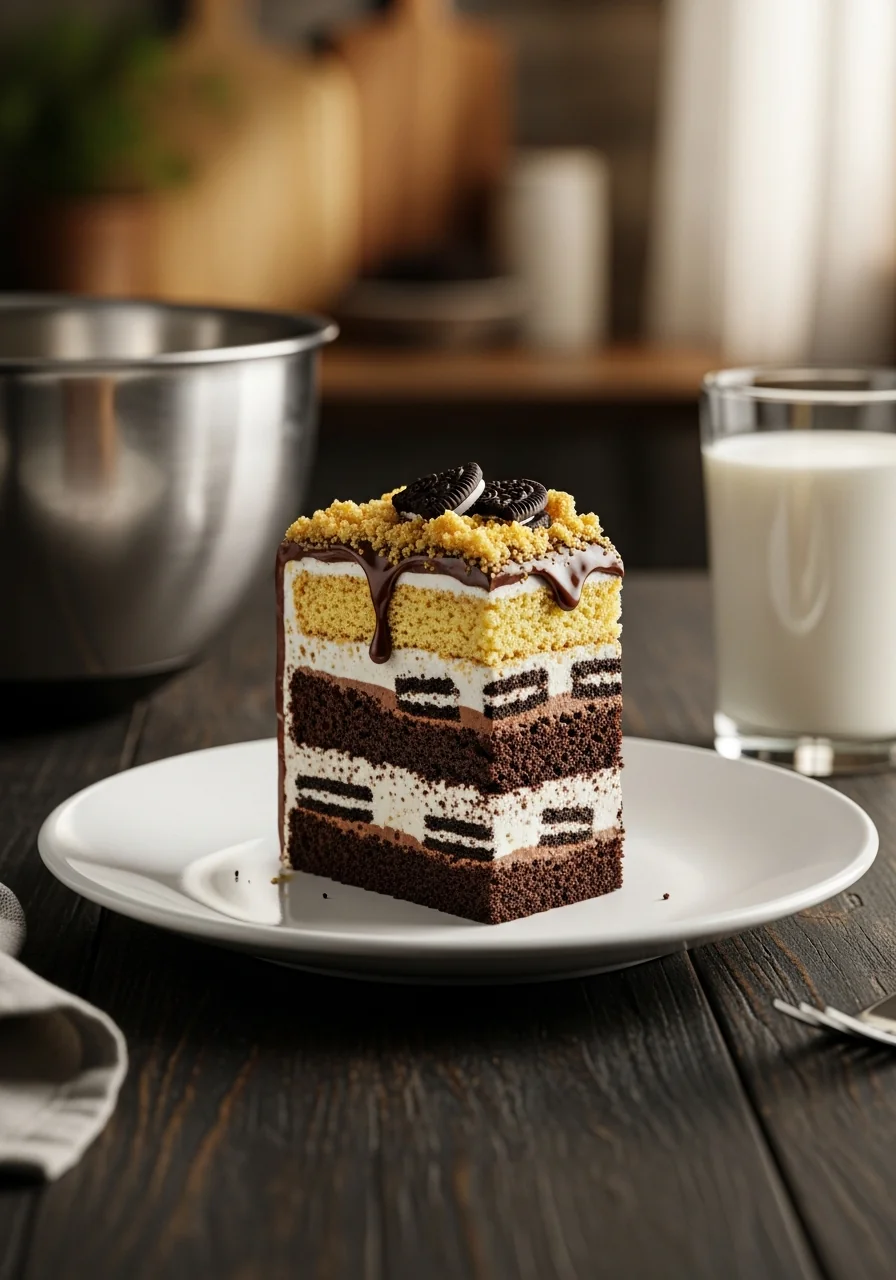
Oreo Dump Cake – 5 Ingredient Quick Dessert
Indulge in a fast, 5‑ingredient Oreo Dump Cake that's moist, chocolatey, and perfect for any sweet craving.
Timing
Prep Time
10 Minutes
Cook Time
25 Minutes
Total Time
35 Minutes
Recipe Details
Ingredients
Main Ingredients
- 01 24 Oreo cookies, crushed
- 02 1/2 cup (1 stick) unsalted butter, melted
- 03 1 package (3.4 oz) instant vanilla pudding mix
- 04 2 cups whole milk
- 05 1 cup whipped topping
Optional Add‑Ins
- 01 1/4 cup mini chocolate chips
- 02 Fresh berries for garnish
Instructions
Preheat the oven to 350°F (175°C). Spread the crushed Oreos evenly in the bottom of a 9‑inch square baking dish.
Drizzle the melted butter over the crumbs, tossing gently with a spoon so the crumbs are lightly coated.
In a bowl, whisk together the instant vanilla pudding mix and milk until smooth; pour this mixture over the buttery crust.
Bake for 20‑25 minutes, until the top is set and the edges are lightly golden. Remove from oven and spread whipped topping on top; sprinkle chocolate chips if using.
Allow the cake to rest 5 minutes, then serve warm or at room temperature, optionally topped with fresh berries.
Notes & Tips
- 1 Do not over‑mix the pudding; a gentle stir prevents lumps.
- 2 If you prefer a firmer crust, press the buttered crumbs firmly before adding the pudding.
- 3 For extra indulgence, drizzle a thin stream of chocolate sauce just before serving.
Tools You'll Need
-
9‑inch square baking dish
-
Mixing bowl
-
Whisk
-
Measuring cups and spoons
-
Spatula
-
Oven
Must-Know Tips
- Don't overcrowd the pan; spread crumbs evenly for consistent baking.
- Let the cake rest briefly; it helps the pudding layer set perfectly.
- Taste as you go; a pinch of extra vanilla enhances the aroma.
Professional Secrets
- Room temperature milk ensures a smooth pudding without lumps.
- Melted butter should be cool enough to avoid soggy crumbs.
- Baking on the middle rack promotes even heat distribution.

Recipe by
JenniferJennifer is a seasoned food blogger and recipe creator who brings a fresh, home‑cooked vibe to Lancefood’s ever‑growing collection of dishes. With ove ...
Get Delicious Recipes Weekly
Join 25,000+ home cooks getting our best recipes straight to their inbox.
Free forever • No spam • Unsubscribe anytime